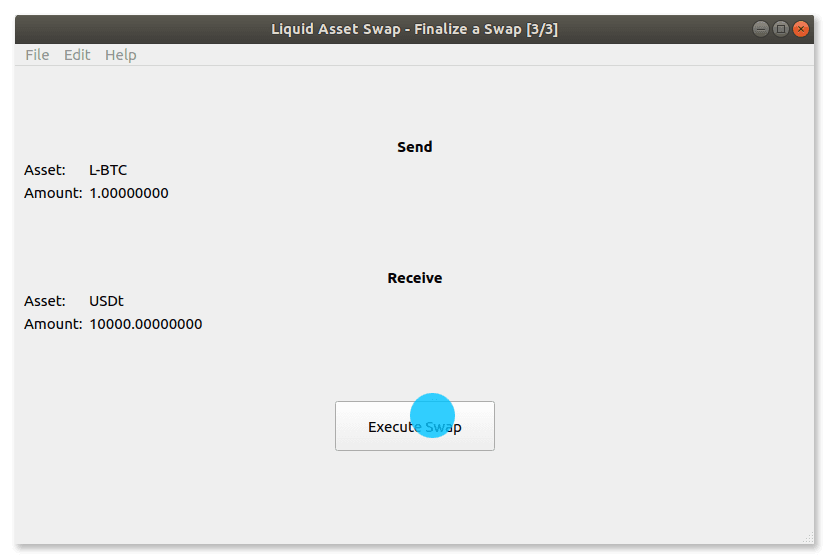
The Liquid Swap Tool allows two parties to complete trust-minimized atomic swaps of any two Liquid assets (e.g., LBTC and USDT on Liquid). Each party requires both a Liquid node and the Liquid Swap Tool installed on their computer.
Configure Your Liquid Node
If you have not yet set up a Liquid node yet, follow our quickstart guide to do so first. Then configure Elements Core to allow connections from other applications using the steps below.
1.
In the Elements Core application:
- Mac: Select Elements Core → Preferences
- Linux: Select Bitcoin Core → Settings
- Windows: Select Settings → Options
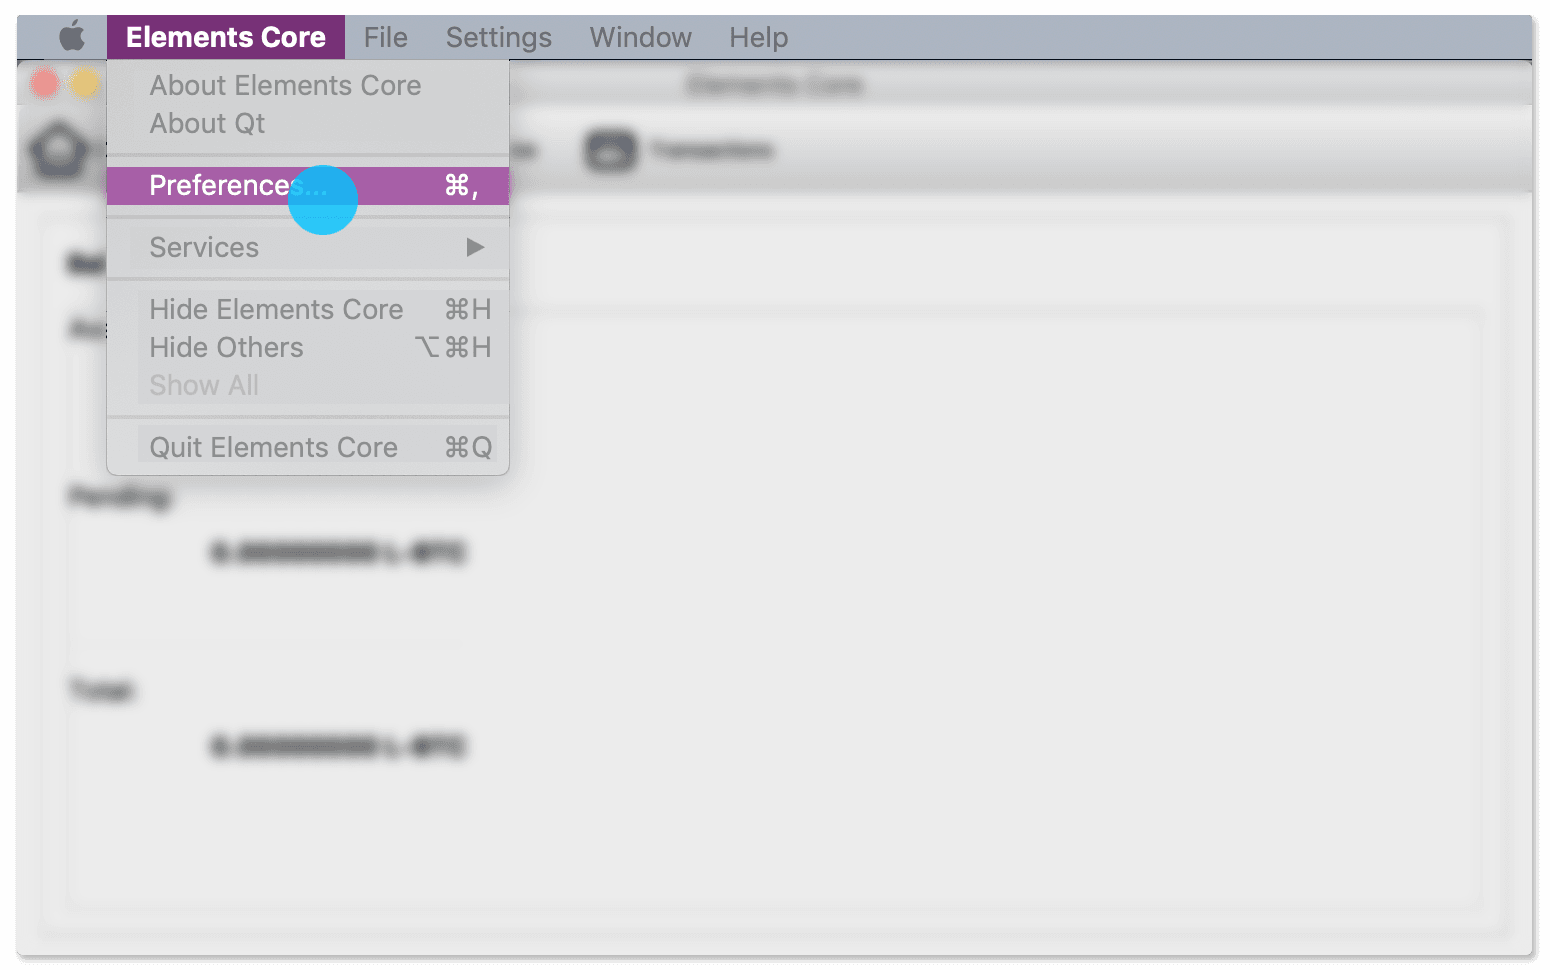
2.
Click Open Configuration File.
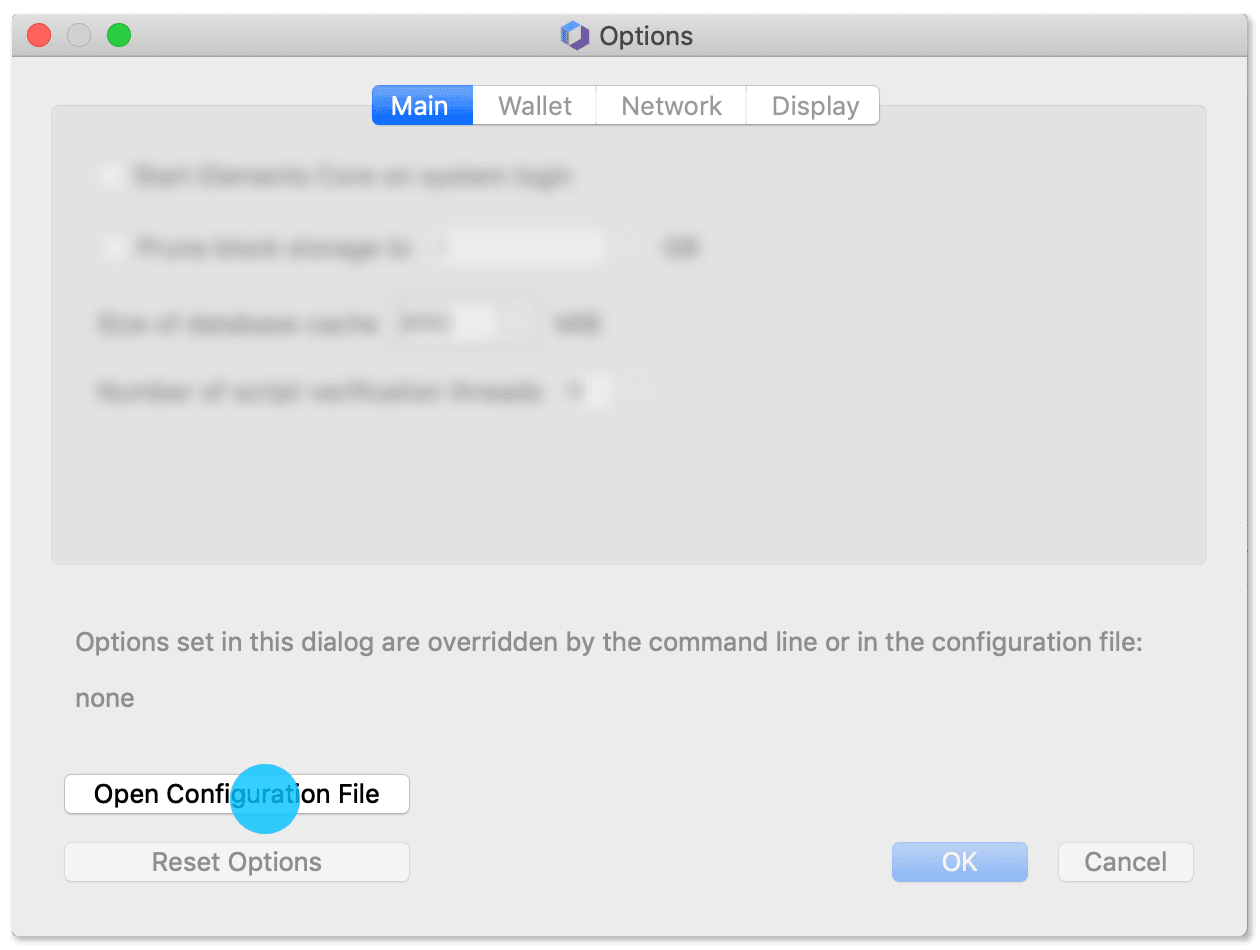
3.
A window will pop up notifying you that the configuration file can be used to override the application’s default settings. Click OK.
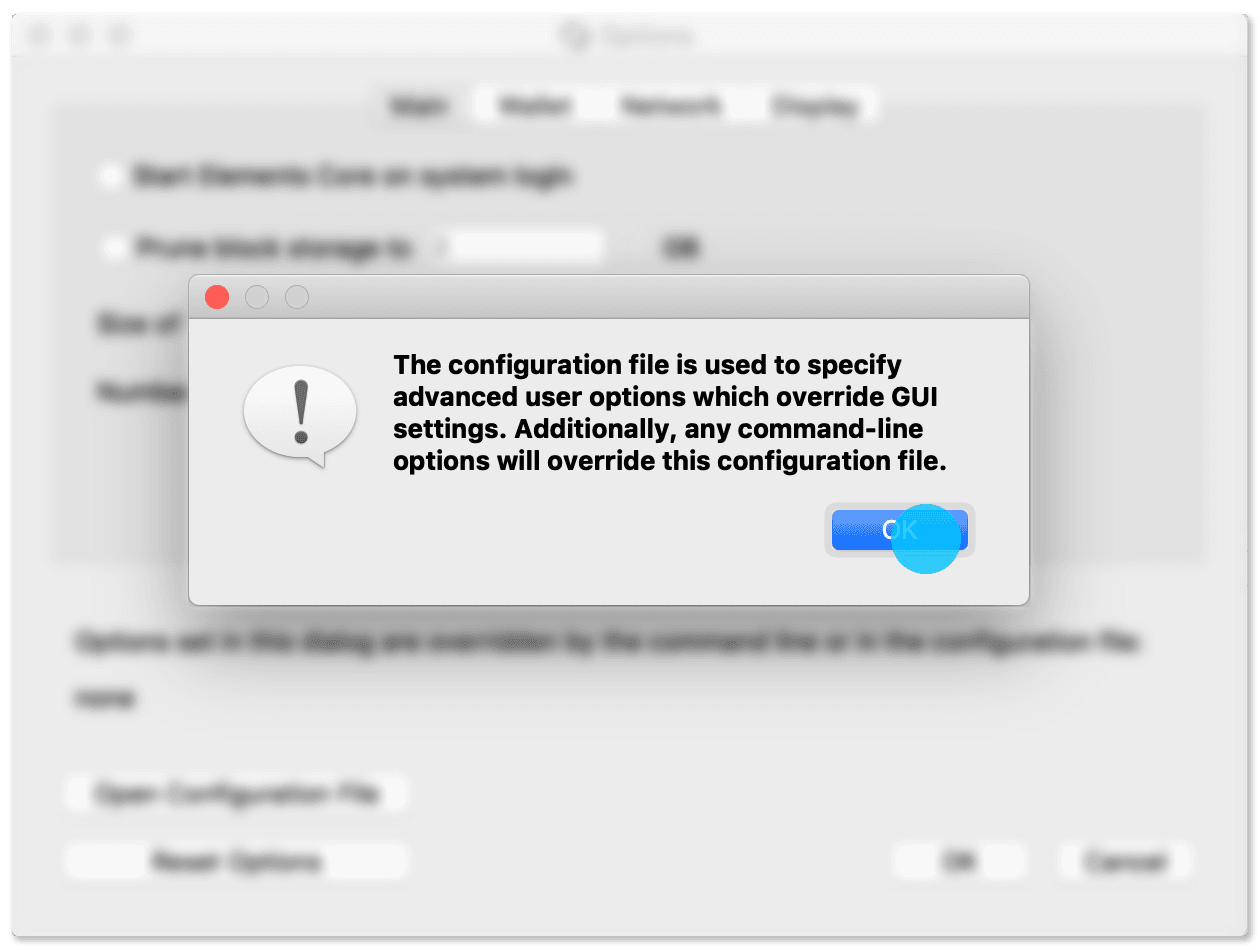
4.
The elements.conf file will open in your text editor. Keep the elements.conf window open and shut down Elements Core.
5.
Paste the following line into elements.conf:
server=1
6.
Save the changes you made to elements.conf and close the window, then reopen Elements Core. Your Liquid node is now ready to accept connections from the Liquid Swap Tool.
Install the Liquid Swap Tool
After you have prepared your Liquid node to accept connections from other apps, you can set up the Liquid Swap Tool.
1.
Download the Liquid Swap Tool installer in the format required for your operating system:
- Mac: Download and double-click the .dmg file.
- Linux: Download the .deb file and extract its contents.
- Windows: Download and double-click the .exe file.
2.
Install and run the Liquid Swap Tool:
- Mac: Drag the Liquid Swap Tool icon into the Applications folder when prompted. Then double-click the Liquid Swap Tool icon to run the program.
- Linux: Run the Liquid Swap Tool from the extracted file location using the command line liquidswap-qui or liquidswap-cli.
- Windows: Open the Liquid Swap Tool from the Programs menu.
Note: If opening the Liquid Swap Tool prompts an error on your Mac saying "LiquidSwapTool cannot be opened because the developer cannot be verified," click Cancel and go to your Mac's System Preferences > Security & Privacy. Then click Open Anyway next to "LiquidSwapTool was blocked because it is not from an identified developer".
Use the Liquid Swap Tool
The Liquid Swap Tool facilitates peer-to-peer Liquid asset swaps between two parties. You can use the Liquid Swap Tool to generate, check, and sign Liquid asset swap data.
The actual exchange of the data generated by the tool takes place directly between the transacting parties, outside of the client. Swap data is just plain text and can be exchanged via any text-based communication method.
A swap involves two parties:
- The Proposer initiates a swap proposal.
- The Respondent receives and reacts to a swap proposal.
Propose a Swap
1.
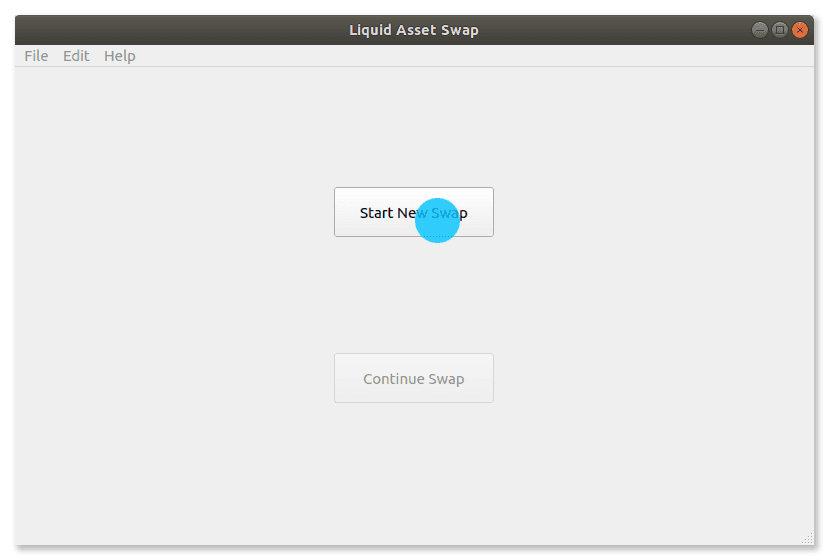
Make sure your Liquid node is running. You will be able to send and receive funds via that wallet inside your Liquid node. Open your Liquid Swap Tool and click Start New Swap to initiate a swap.
2.
Select the asset and amount you want to send, as well as the asset and amount you want to receive in return. Then click Generate Proposal.
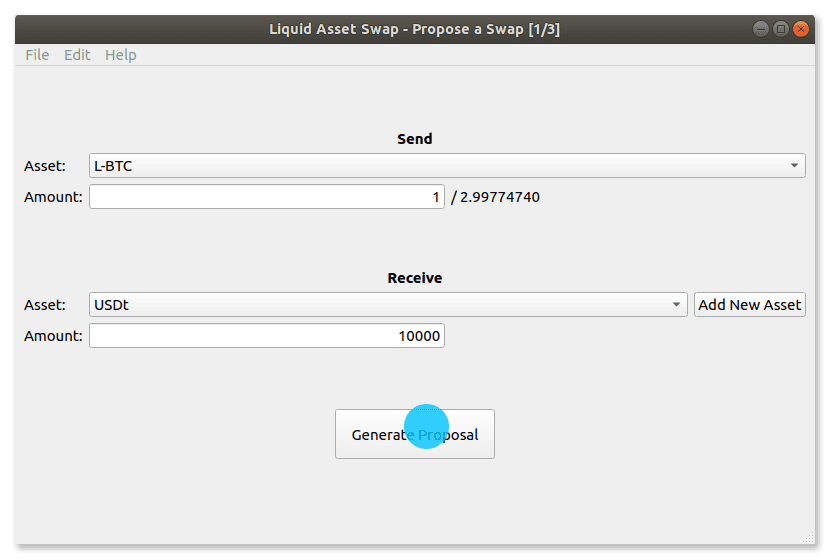
Note: The asset dropdown list under Receive contains assets currently held in your local wallet. If you want to receive an asset that is not yet in your wallet, you can add that asset by pasting the asset ID from the Respondent. You can cross-reference the asset ID against Blockstream’s Liquid Asset Registry if the asset has been registered by the original issuer.
3.
Copy the swap proposal and send it to the Respondent via your preferred communication channel.
Respond to a Swap Proposal
1.
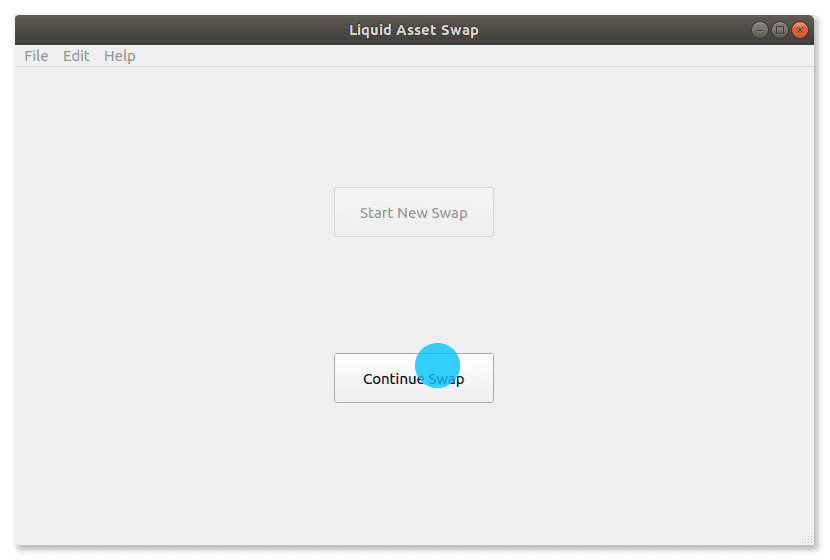
Make sure your Liquid node is running. Once you have received a swap proposal, open your Liquid Swap Tool and click Continue Swap. Then paste the text you received from the Proposer into the designated field.
2.
Confirm the swap proposal and click Accept Proposal, then review the transaction fees and your receiving address before giving final confirmation.
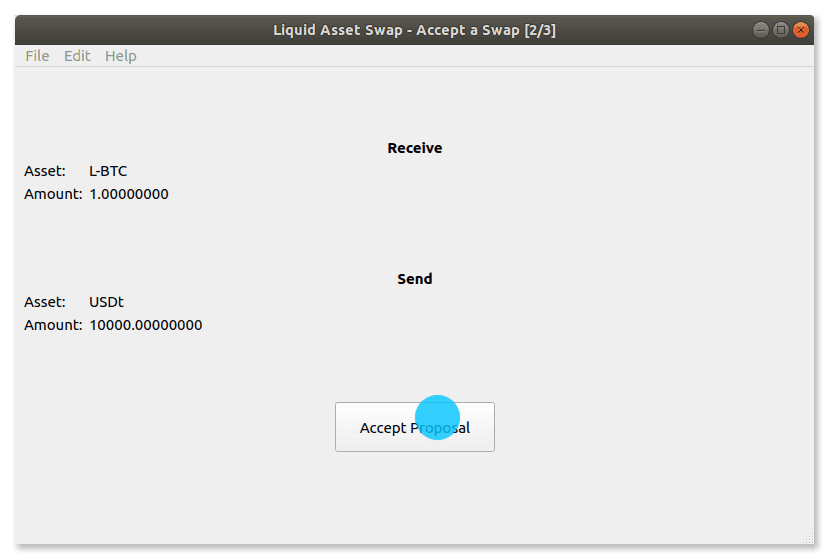
3.
Copy the signed acceptance data and send it back to the Proposer via your preferred communication channel.
4.
The Proposer will now click Continue Swap in their Liquid Swap Tool and paste the signed acceptance data you provided into the designated field. Once they have confirmed the details of the swap, they click Execute Swap and confirm the payable transaction fees. The Proposer's Liquid Swap Tool will then sign and broadcast the transaction.