
Make a swap between on-chain bitcoin and the Lightning Network. Choose your direction and follow the prompts. Steps differ slightly depending on which way you are swapping.
In this article:
Note: If it's your first time swapping, you will be asked to save your swaps backup partway through the swap. See First-Time Only: Save Your Swaps Backup below.
Choose your direction on the Start a Swap screen with the You Send and You Receive selectors: Bitcoin to Lightning or Lightning to bitcoin. If your swaps backup is already loaded, click New Swap in your Swap History.
Bitcoin to Lightning
Send bitcoin on-chain in exchange for Lightning bitcoin paid to an invoice you provide.
1.
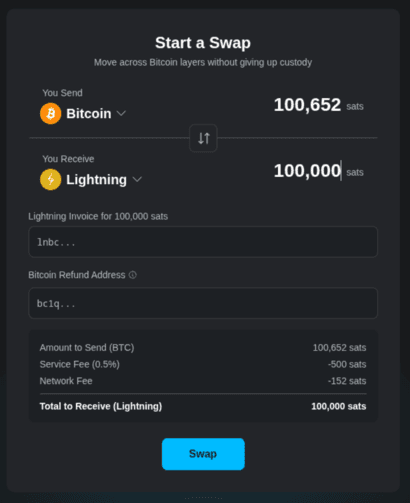
Enter the amount you want to swap.
2.
In your receiving Lightning wallet, create an invoice for the amount shown. Copy the invoice.
3.
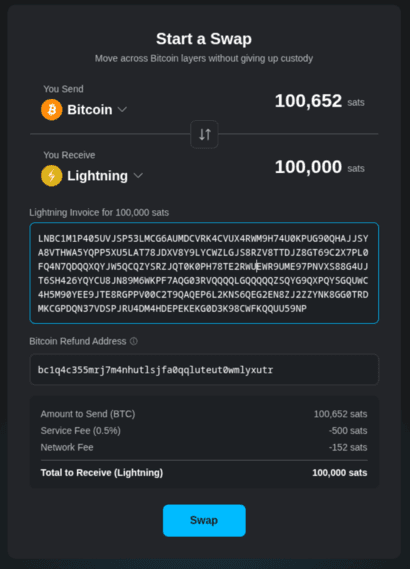
Paste the invoice into the Lightning Invoice field.
4.
In your bitcoin wallet, generate a receiving address. Copy the address.
5.
Paste the address into the Bitcoin Refund Address field. If anything goes wrong during the swap, your bitcoin is returned to this address.
The Swap button remains disabled until a valid invoice is entered.
6.
Click Swap.
Note: On your first swap, you will be prompted to save your swaps backup. See First-Time Only: Save Your Swaps Backup below.
7.
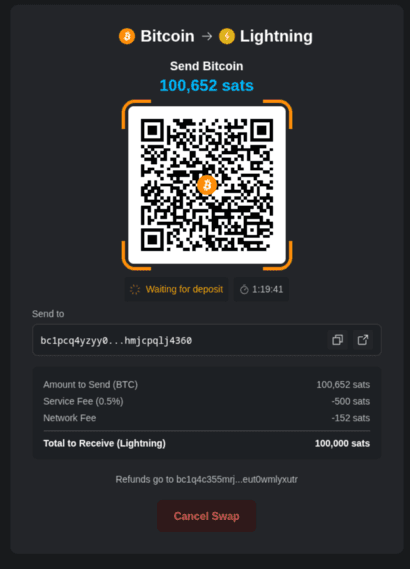
Scan the bitcoin QR code with your sending wallet, or copy the bitcoin address and send the exact amount shown. Send your deposit before the countdown on this screen runs out.
8.
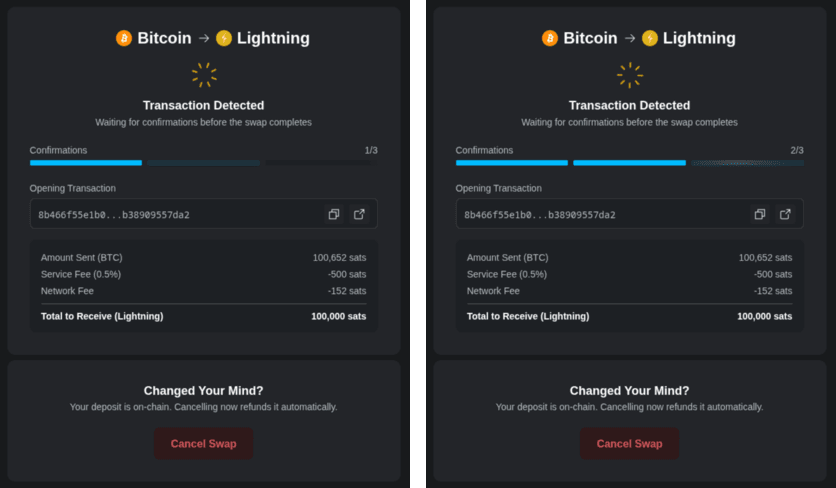
Wait for the deposit to confirm. Blockstream Swaps waits for three on-chain confirmations before releasing the Lightning payment.
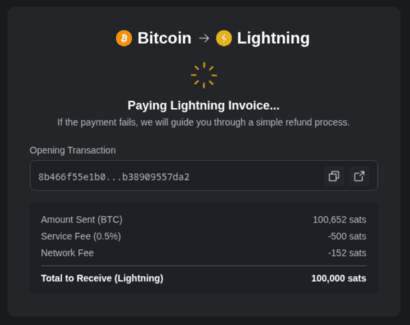
9.
Once confirmed, you will see the Swap Completed screen. Expand Details to view the transaction IDs and the paid invoice.
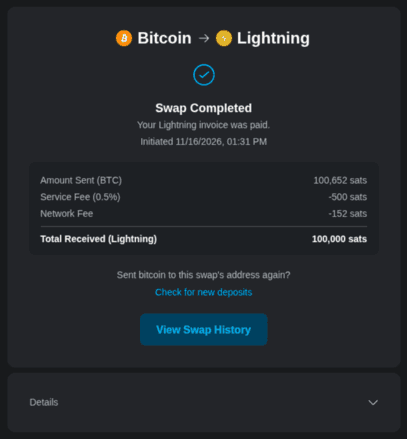
Your bitcoin has been swapped to Lightning. The Lightning invoice in your receiving wallet is now paid.
Lightning to Bitcoin
Pay a Lightning invoice in exchange for on-chain bitcoin sent to a bitcoin address you provide.
1.
Enter the amount you want to receive on-chain, then paste your bitcoin address into the Receiving Bitcoin Address field.
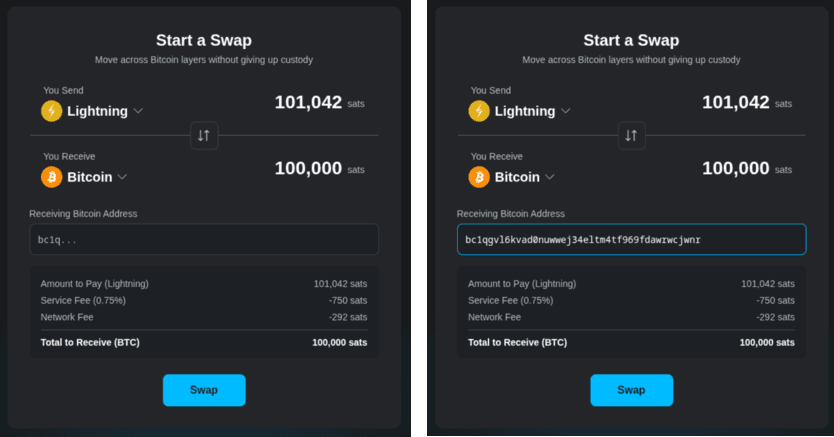
2.
Click Swap.
Note: On your first swap, you will be prompted to save your swaps backup. See First-Time Only: Save Your Swaps Backup below.
3.
Pay the Lightning invoice by scanning the QR code with your Lightning wallet, or copy the invoice and paste it into your wallet.
Warning: The Pay Lightning Invoice step has a 10-minute timer. If you do not pay the invoice within that window, the swap expires and you will need to start again. Have your Lightning wallet ready before starting.
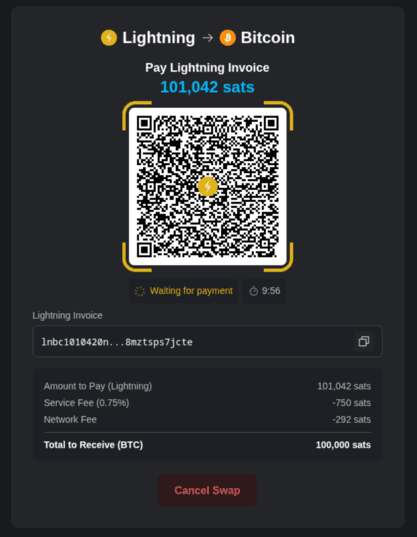
4.
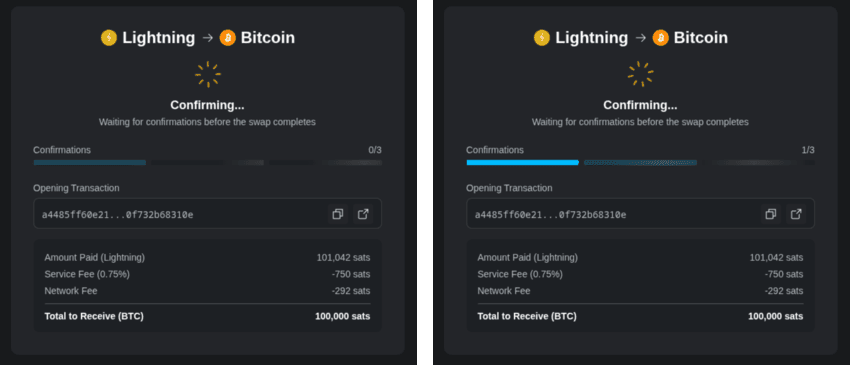
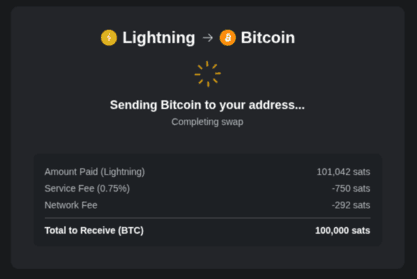
You will see progress and confirmations update on screen.
5.
You will see the Swap Completed screen with the on-chain transaction details.

Your Lightning bitcoin has been swapped to on-chain bitcoin. The transaction will appear in your receiving wallet once it confirms on the bitcoin network.
First-Time Only: Save Your Swaps Backup
On your first swap, you will be prompted to save your swaps backup after you click Swap and before the swap completes. Saving it is required so you can access your swap history and claim refunds on another device.
Warning: Your 12-word recovery phrase is your swaps backup. Anyone who has it can see your swap history and claim a refund on a failed swap. Blockstream cannot recover your swaps backup for you.
1.
Make sure you are in a private, safe space, then click Show Backup to reveal the 12 words. We highly recommend writing each word on paper in the order shown.

Note: The recovery phrase in this screenshot is an example for demonstration purposes only. Never use it to store real funds.
2.
Click I've Saved My Swaps Backup.
3.
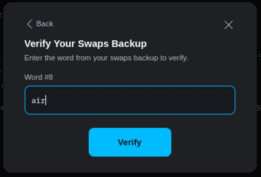
Confirm your swaps backup by entering the requested word, then click Verify.
4.
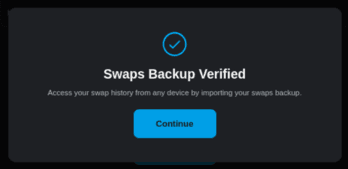
Click Continue. Your swap continues from where you left off.
- For more on why a swaps backup is required, see Why do I need a swaps backup?
- For the swap status reference, see What does each swap status mean?
- For fee details, see How are swap fees calculated?